This post may contain affiliate links, which means I earn a small commission if you purchase something I recommend- at no additional cost to you! As an Amazon Associate I earn from qualifying purchases. Thank you for supporting this blog! Full disclosure here.
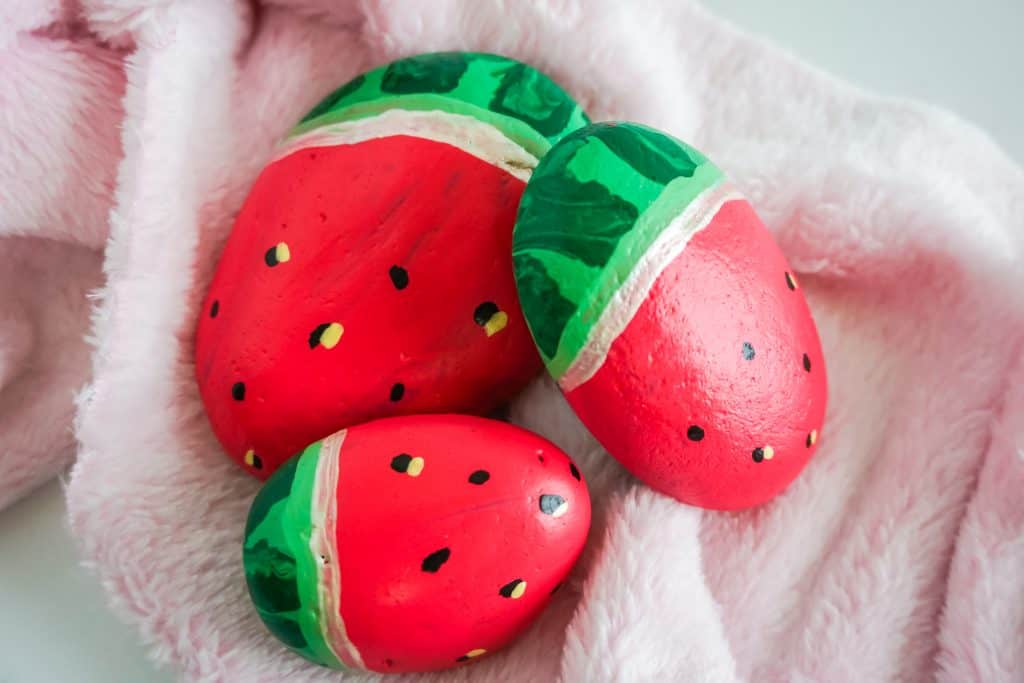
Looking for an easy summer craft idea to entertain the kids? This watermelon rock painting craft is the perfect solution to boredom. Learn how to paint rocks to hide with this easy watermelon painted rock tutorial!
Rock painting has gained popularity in the last few years, with kids enjoying the process of painting, hiding, and finding rocks all over their hometown.
We recently visited the Parr Park Rock Art Trail in Grapevine, Texas, and you can read about our trip here.
The trip left us feeling inspired to pain a few rocks of our own, but I had so many questions! Like, how the heck do you get the paint to stick to the rock? And how do you make the pain stay once the rock is placed outdoors?
If you have these questions too, have no fear! I’ve got a simple rock painting tutorial and fun summer watermelon painting idea just for you.
It’s really such a simple craft project that kids of all ages will enjoy. Grab your supplies and some rocks and let’s get painting!
Supplies for Rock Painting
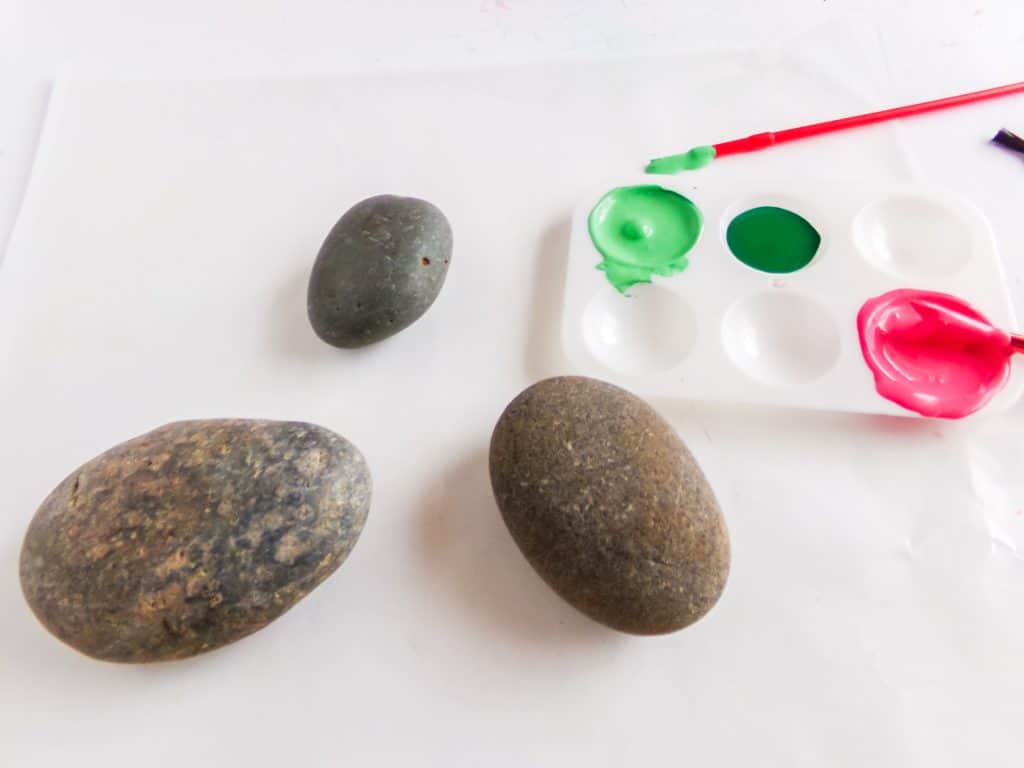
If you’re wondering what to use to paint rocks, here’s a list of items you’ll need to paint your rocks with acrylic paint.
- Round-ish Rocks (I made 3)
- Mod Podge (to seal paint)
- Moist Paper Towel
- Paint Brushes
- Acrylic Paint in:
- Pink
- Dark Green
- Light Green
- Metallic White
- Black
- Metallic Gold
How to Paint Rocks Step-By-Step
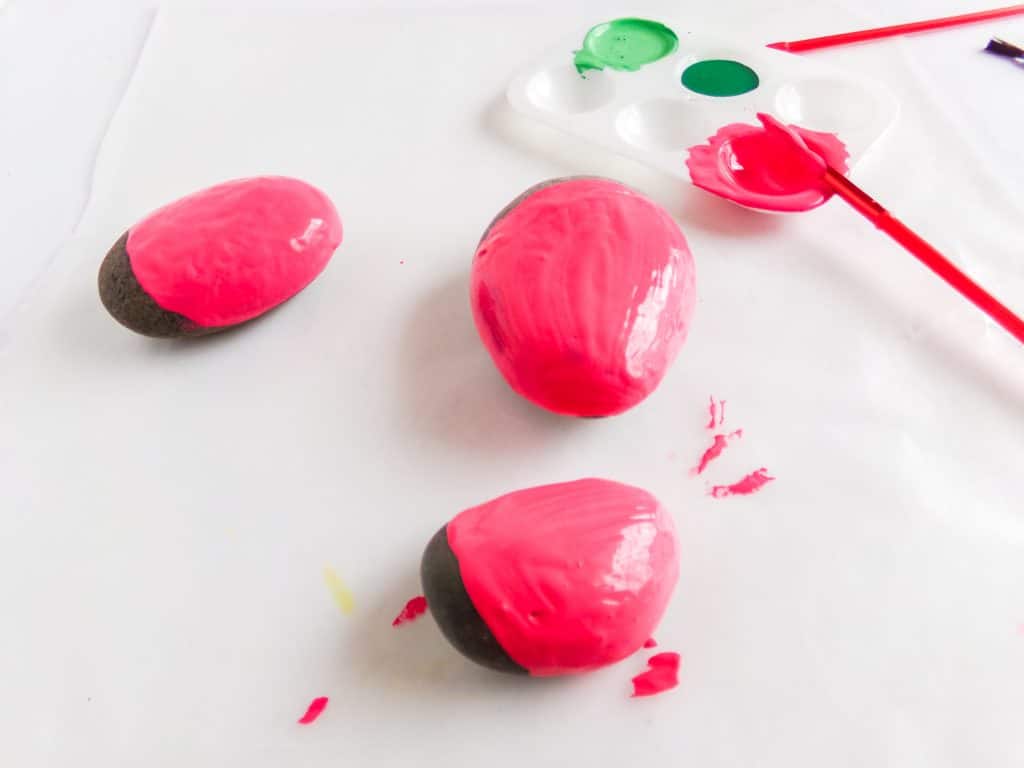
Wipe your rocks to remove any dust or dirt, then allow them to dry completely.
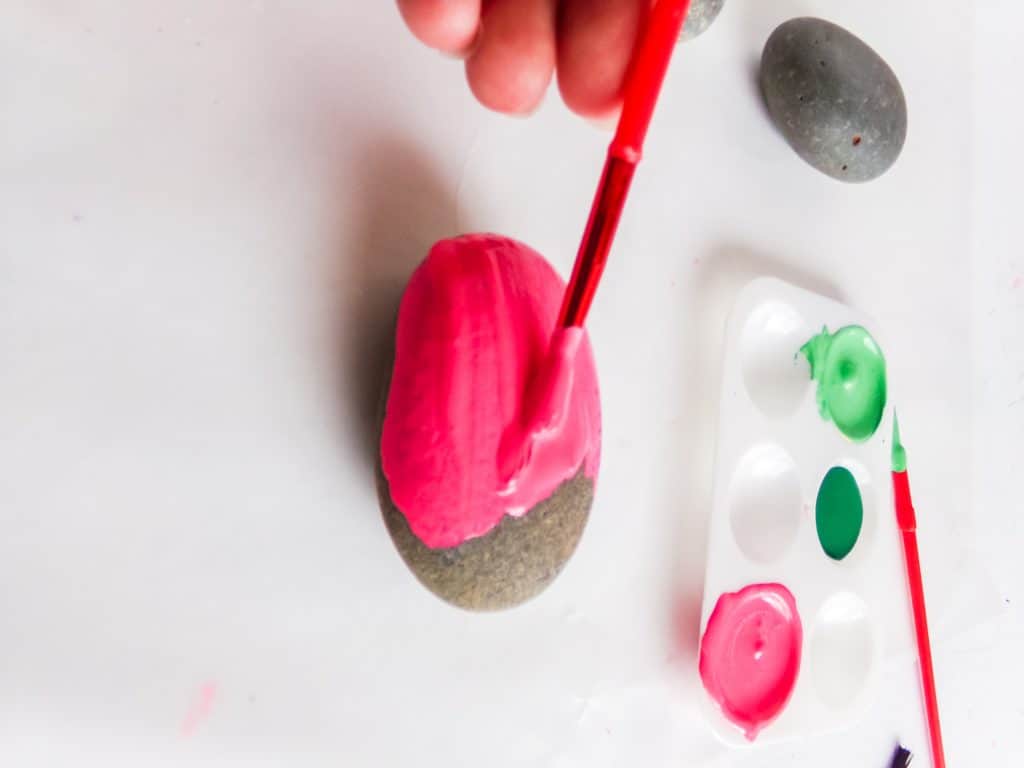
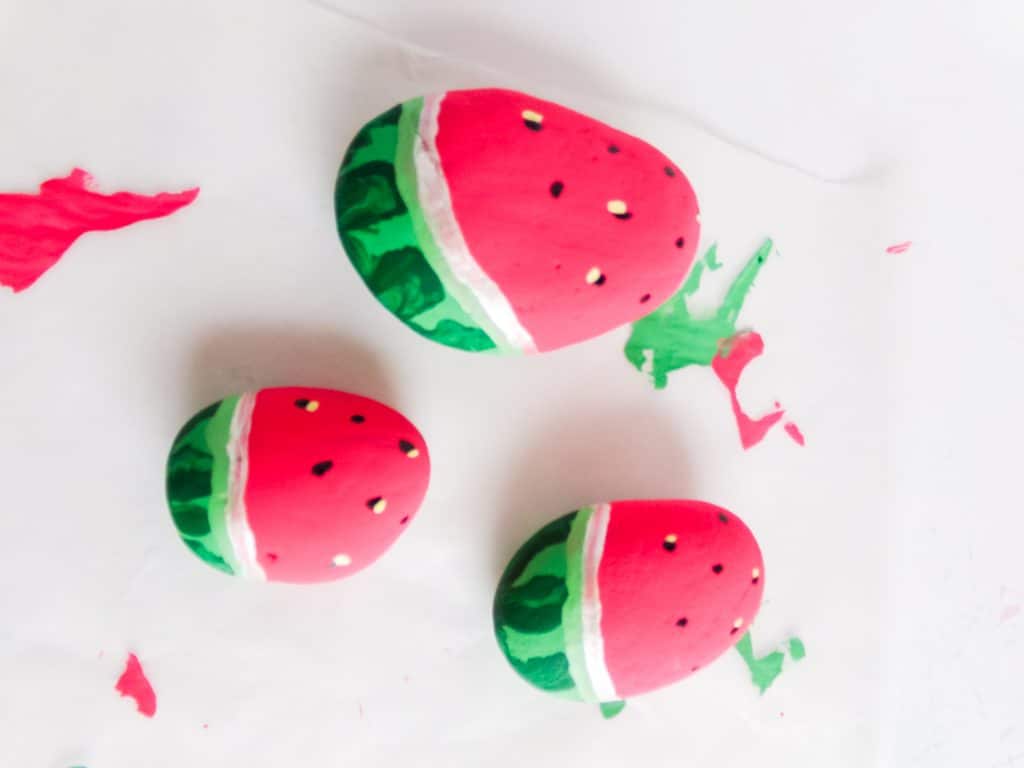
Paint about ¾ of each rock with the pink paint, covering the majority of the rock completely. Allow the pink paint to dry completely.
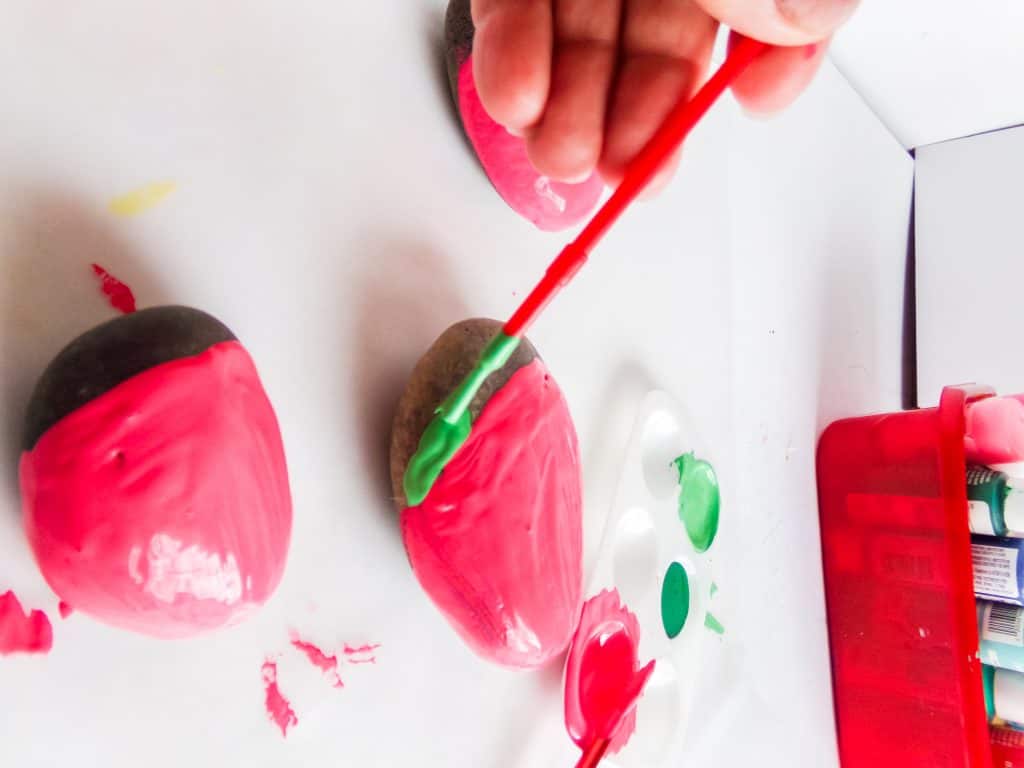
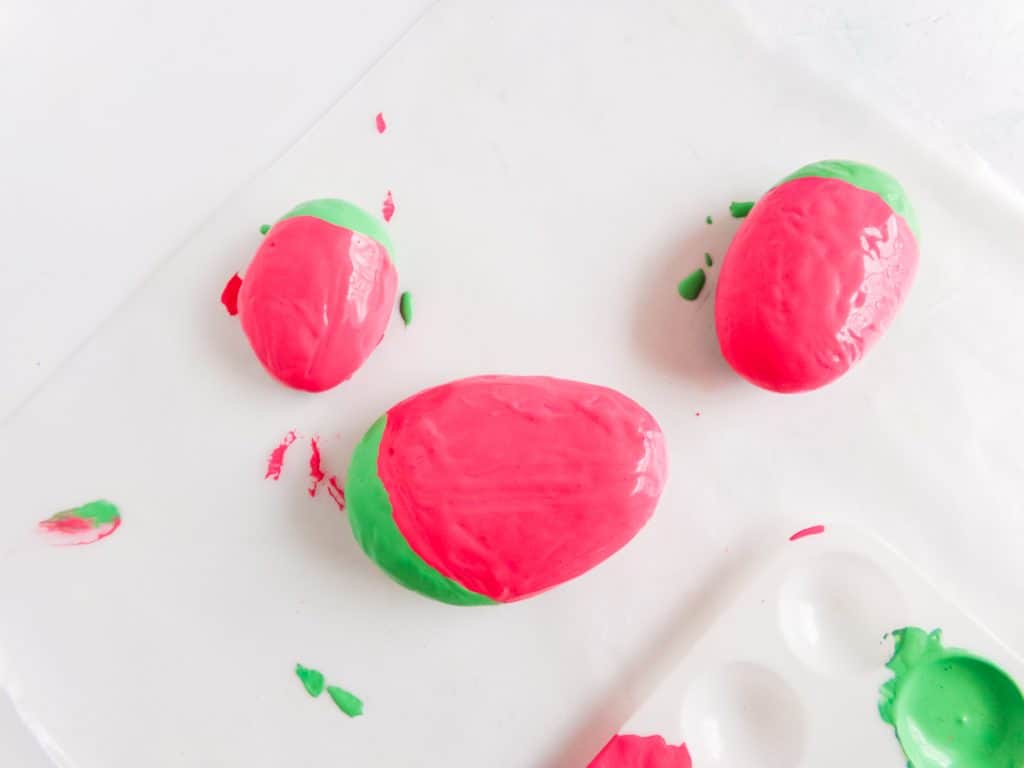
Paint the remaining ¼ of each rock with the light green paint, covering the rock completely. Allow the light green paint to dry completely.
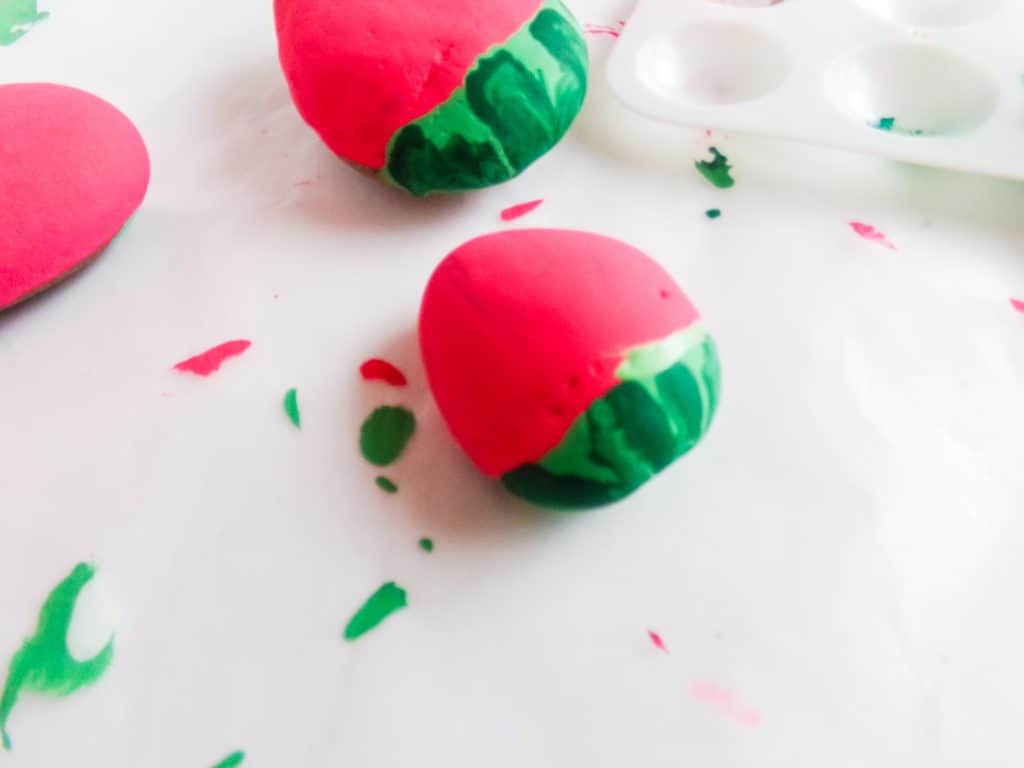
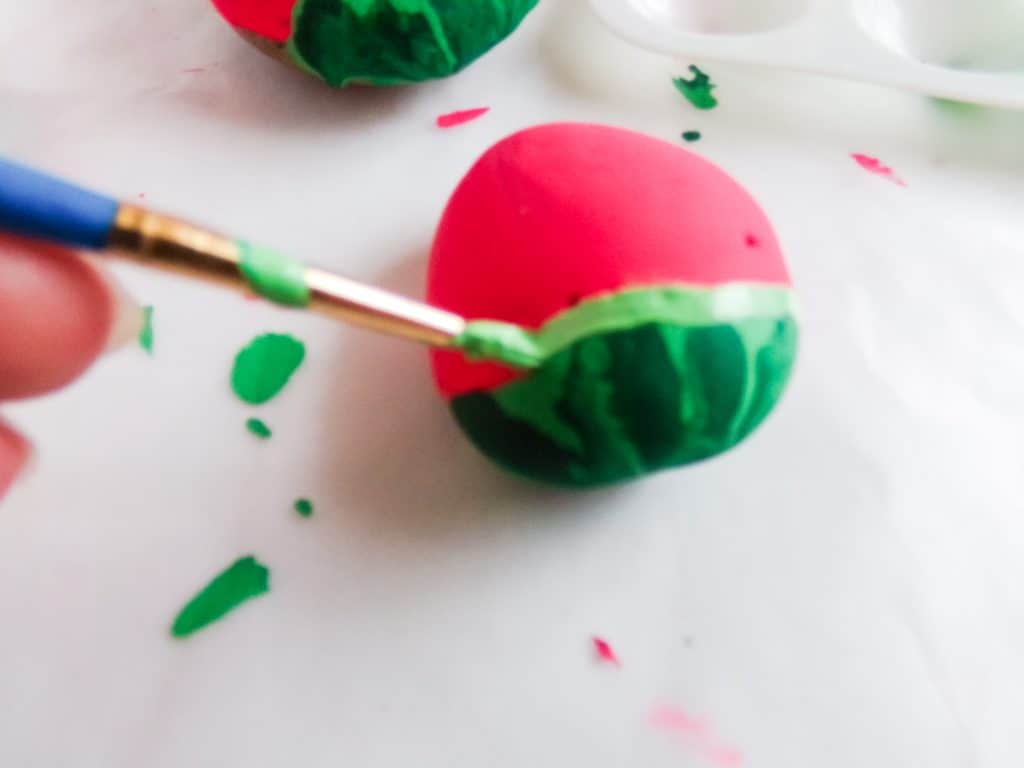
With the dark green paint, paint vertical lines about ½-inch wide from one side to the other on top of the light green painted area, leaving a ¼-inch to ⅛-inch wide section of light green paint showing. Make these dark green stripes organically messy and come together on the end of the rock. Allow the dark green paint to dry completely.
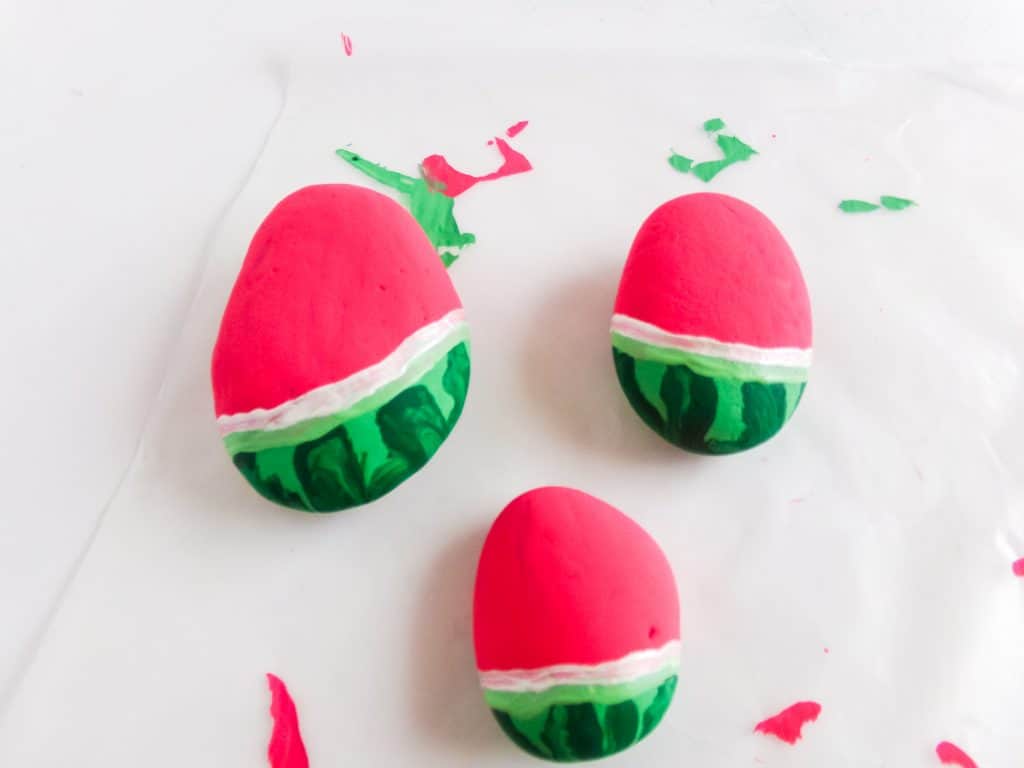
Add a line of light green paint across the join line of the pink and greens, neatening-up the area. Allow this to dry completely.
Add a line of metallic white paint on the pink side of the light green line you just painted. Allow this to dry completely.
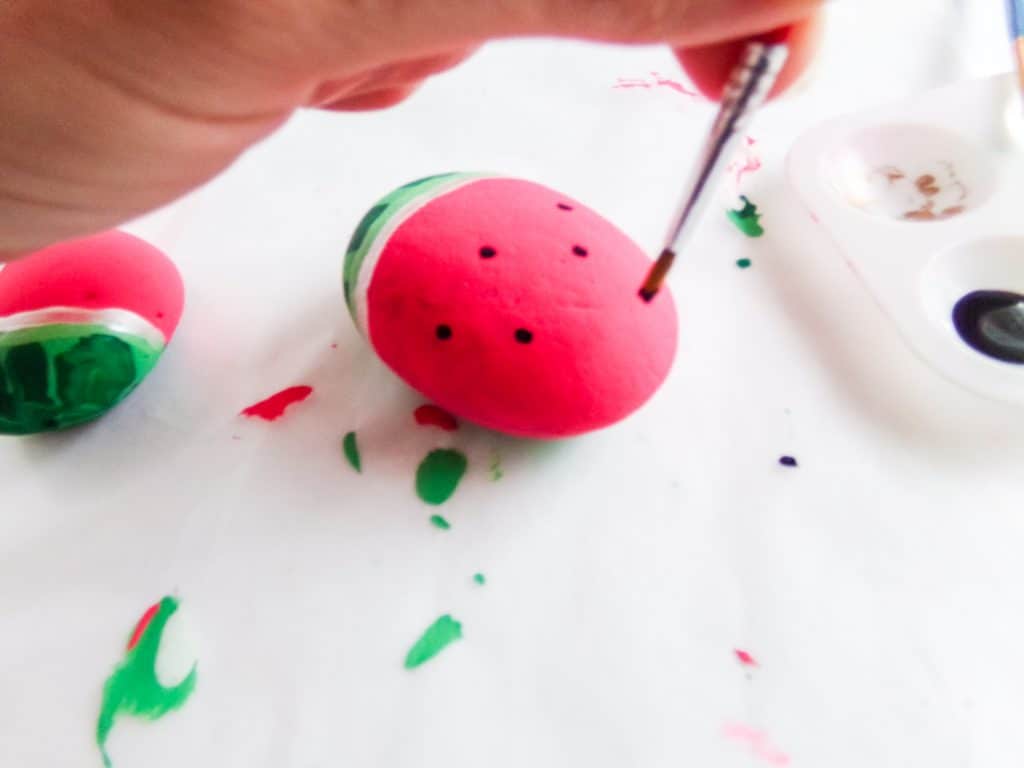
Using the smallest paint brush you can find and a dabbing motion, add dabs of black paint on the pink area in 5-6 places. These dots will be the seeds. Allow these to dry completely.
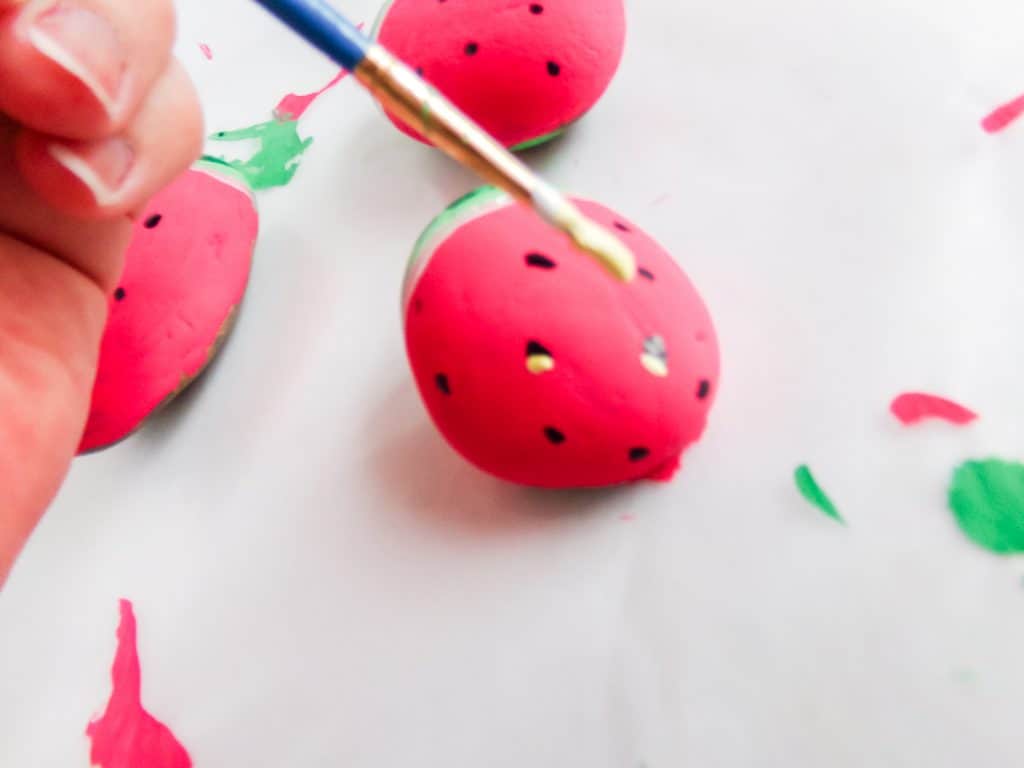
Using the gold paint, add a “shine” on each seed by adding a dab of gold paint on the side of each seed. Allow this to dry completely.
If desired, seal with a coat of Mod Podge before sharing with the neighborhood!
Why Paint Rocks?
Rock painting is a fun, easy activity for kids (or adults). It’s a great craft project for beginners and is perfect for artists of all ages and skill levels.
It can also be quite therapeutic to paint rocks! Painting is a relaxing and rewarding activity that will help you release some creative energy.
Finally, rock painting has become a community activity which includes not only painting the rocks, but also hiding them around the town, and searching for rocks that others have placed to be found.
I hope you’ll enjoy painting rocks with your kids as a budget friendly family activity, and don’t forget to search Facebook or Google for local rock painting groups (and trails) near you!

hi! I'm shannon
I’m a wife, mom of three, doctor, and blogger! In 2018, I decided to turn my mom blog, into a personal finance blog so others could follow along on our journey to pay off over HALF a MILLION dollars in student loan and practice start up debt. I hope you enjoy following along, and maybe even find some inspiration along the way.